Building Physics and Standards
Heat Load Calculation Basics
Transmission and ventilation losses, U-values and design temperatures explained, with the sizing mistakes that leave a house cold.
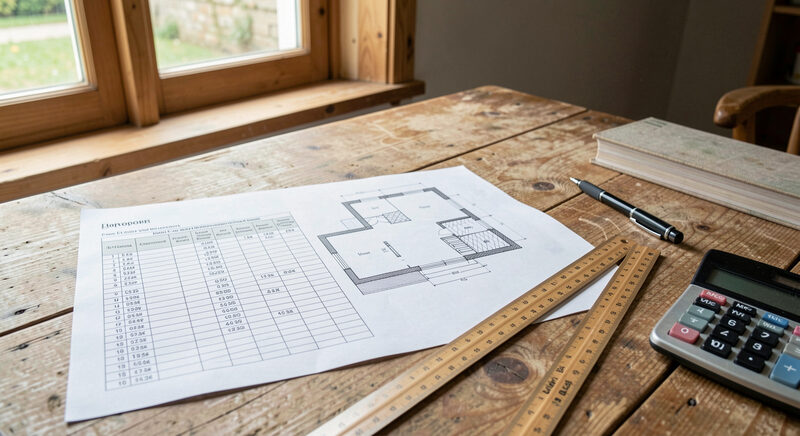
What the heat load is
The heat load is the heating power needed to hold a building at the desired indoor temperature at the lowest outside temperature expected. It is given in kilowatts and is found for a design day, not an average day. It is different from the annual demand, which accumulates over the whole heating season. Confuse the two and the sizing goes wrong. The heat load describes the peak, the demand describes the total.
The two paths of loss
Heat leaves a building in two ways. The first is transmission: heat flows out through walls, roof, windows and floor. The second is ventilation: warm air escapes and cold air flows in. The two parts are calculated separately and added. Transmission depends on the areas and their U-values, ventilation on the air change rate and on whether heat recovery is present. A good ventilation system cuts the second part considerably.
U-values and areas
A U-value states how much heat flows through one square metre of an element per degree of temperature difference. The lower it is, the better the insulation. For each area of the building the U-value is multiplied by the area and the temperature difference. That gives the transmission loss. Knowing the U-values lets you see which measure brings the most. A large, poorly insulated wall weighs more than a small, well insulated window. Comparing insulation materials helps put the values in context.
The design outside temperature
For the calculation, an outside temperature is fixed that occurs on a very cold day. This design temperature depends on the region and is taken from long records. It is deliberately low, so the heating copes even in an extreme case. Set it too high and the system is undersized. Set it too low and it is oversized. Both cost money. The regional values appear in the relevant standards and tables.
Heat load and annual demand
Two figures are often confused. The heat load is the peak power on a cold day. The annual heating demand is the amount of heat over the whole season. The load sets the size of the heating, the demand sets the running cost. Knowing only the demand, you cannot size the heating. Knowing only the load, you know nothing about the annual use. Both belong together, and both follow from the same element data. A plan that gives only one of them is incomplete.
Thermal bridges and allowances
Besides the areas, thermal bridges matter, the points where heat escapes faster than through the rest of the envelope. Balconies, window reveals, roller shutter boxes and the junction with the roof are typical. In the calculation they are counted as an allowance when not modelled in detail. That allowance can raise the loss noticeably, especially in well insulated walls, where bridges weigh relatively more. Know the bridges and you can soften them and lower the load. Ignore them and the real use exceeds the estimate.
Common mistakes
The most common mistake is a rough guess based on floor area. It may serve for a first idea but does not replace a calculation. A second is to forget the ventilation loss, especially in tight houses with mechanical ventilation. A third is to ignore thermal bridges. A fourth is not recalculating after a retrofit. Improve the envelope and the load falls, so a smaller unit is needed. The route to that work is in the article on deep retrofit.
Recalculate after the work
A heat load calculation is not a one-off. As soon as the envelope changes, the load changes. Insulate the facade, improve the roof and replace the windows and the demand falls sharply. The old heating no longer matches, and a new sizing is needed. Skip that and an oversized unit cycles and uses more than necessary. Recalculation therefore belongs at the end of every retrofit, together with setting the controls. The wider context is in the section on building physics and standards.
When to call a specialist
A full calculation to the standards is demanding and belongs with a specialist or designer. It covers elements, ventilation, thermal bridges and regional climate data. A self-builder can estimate the order of magnitude and check their own elements, but the binding sizing should be handed over. That guards against errors and is often required for grant funding anyway. The demands of the standards are summarised in the article on energy standards.
A worked example in outline
A small house with a hundred square metres of floor loses part of its heat through walls, roof and windows. The losses are found area by area, multiplying each by its U-value and the temperature difference. Added to that is the ventilation loss, less the share a heat recovery unit returns. The sum gives the heat load in kilowatts. From that figure comes the size of the heating and whether a small backup is enough. Work the example for your own house and the largest contributors become obvious at once.
One last check: keep the calculation with the building documents. When the next change comes, a retrofit or an extension, the figures are the starting point rather than a fresh guess.